Releasing a Ren'Py Visual Novel on Steam: My journey as a tutorial so you don't have to die trying
A full walkthrough of releasing a Ren'Py visual novel on Steam, from Steamworks Partner registration (with a section for Mexican developers) through SteamPipe uploads and testing.
Releasing a Ren'Py Visual Novel on Steam: The End-to-End Tutorial I Wish Existed
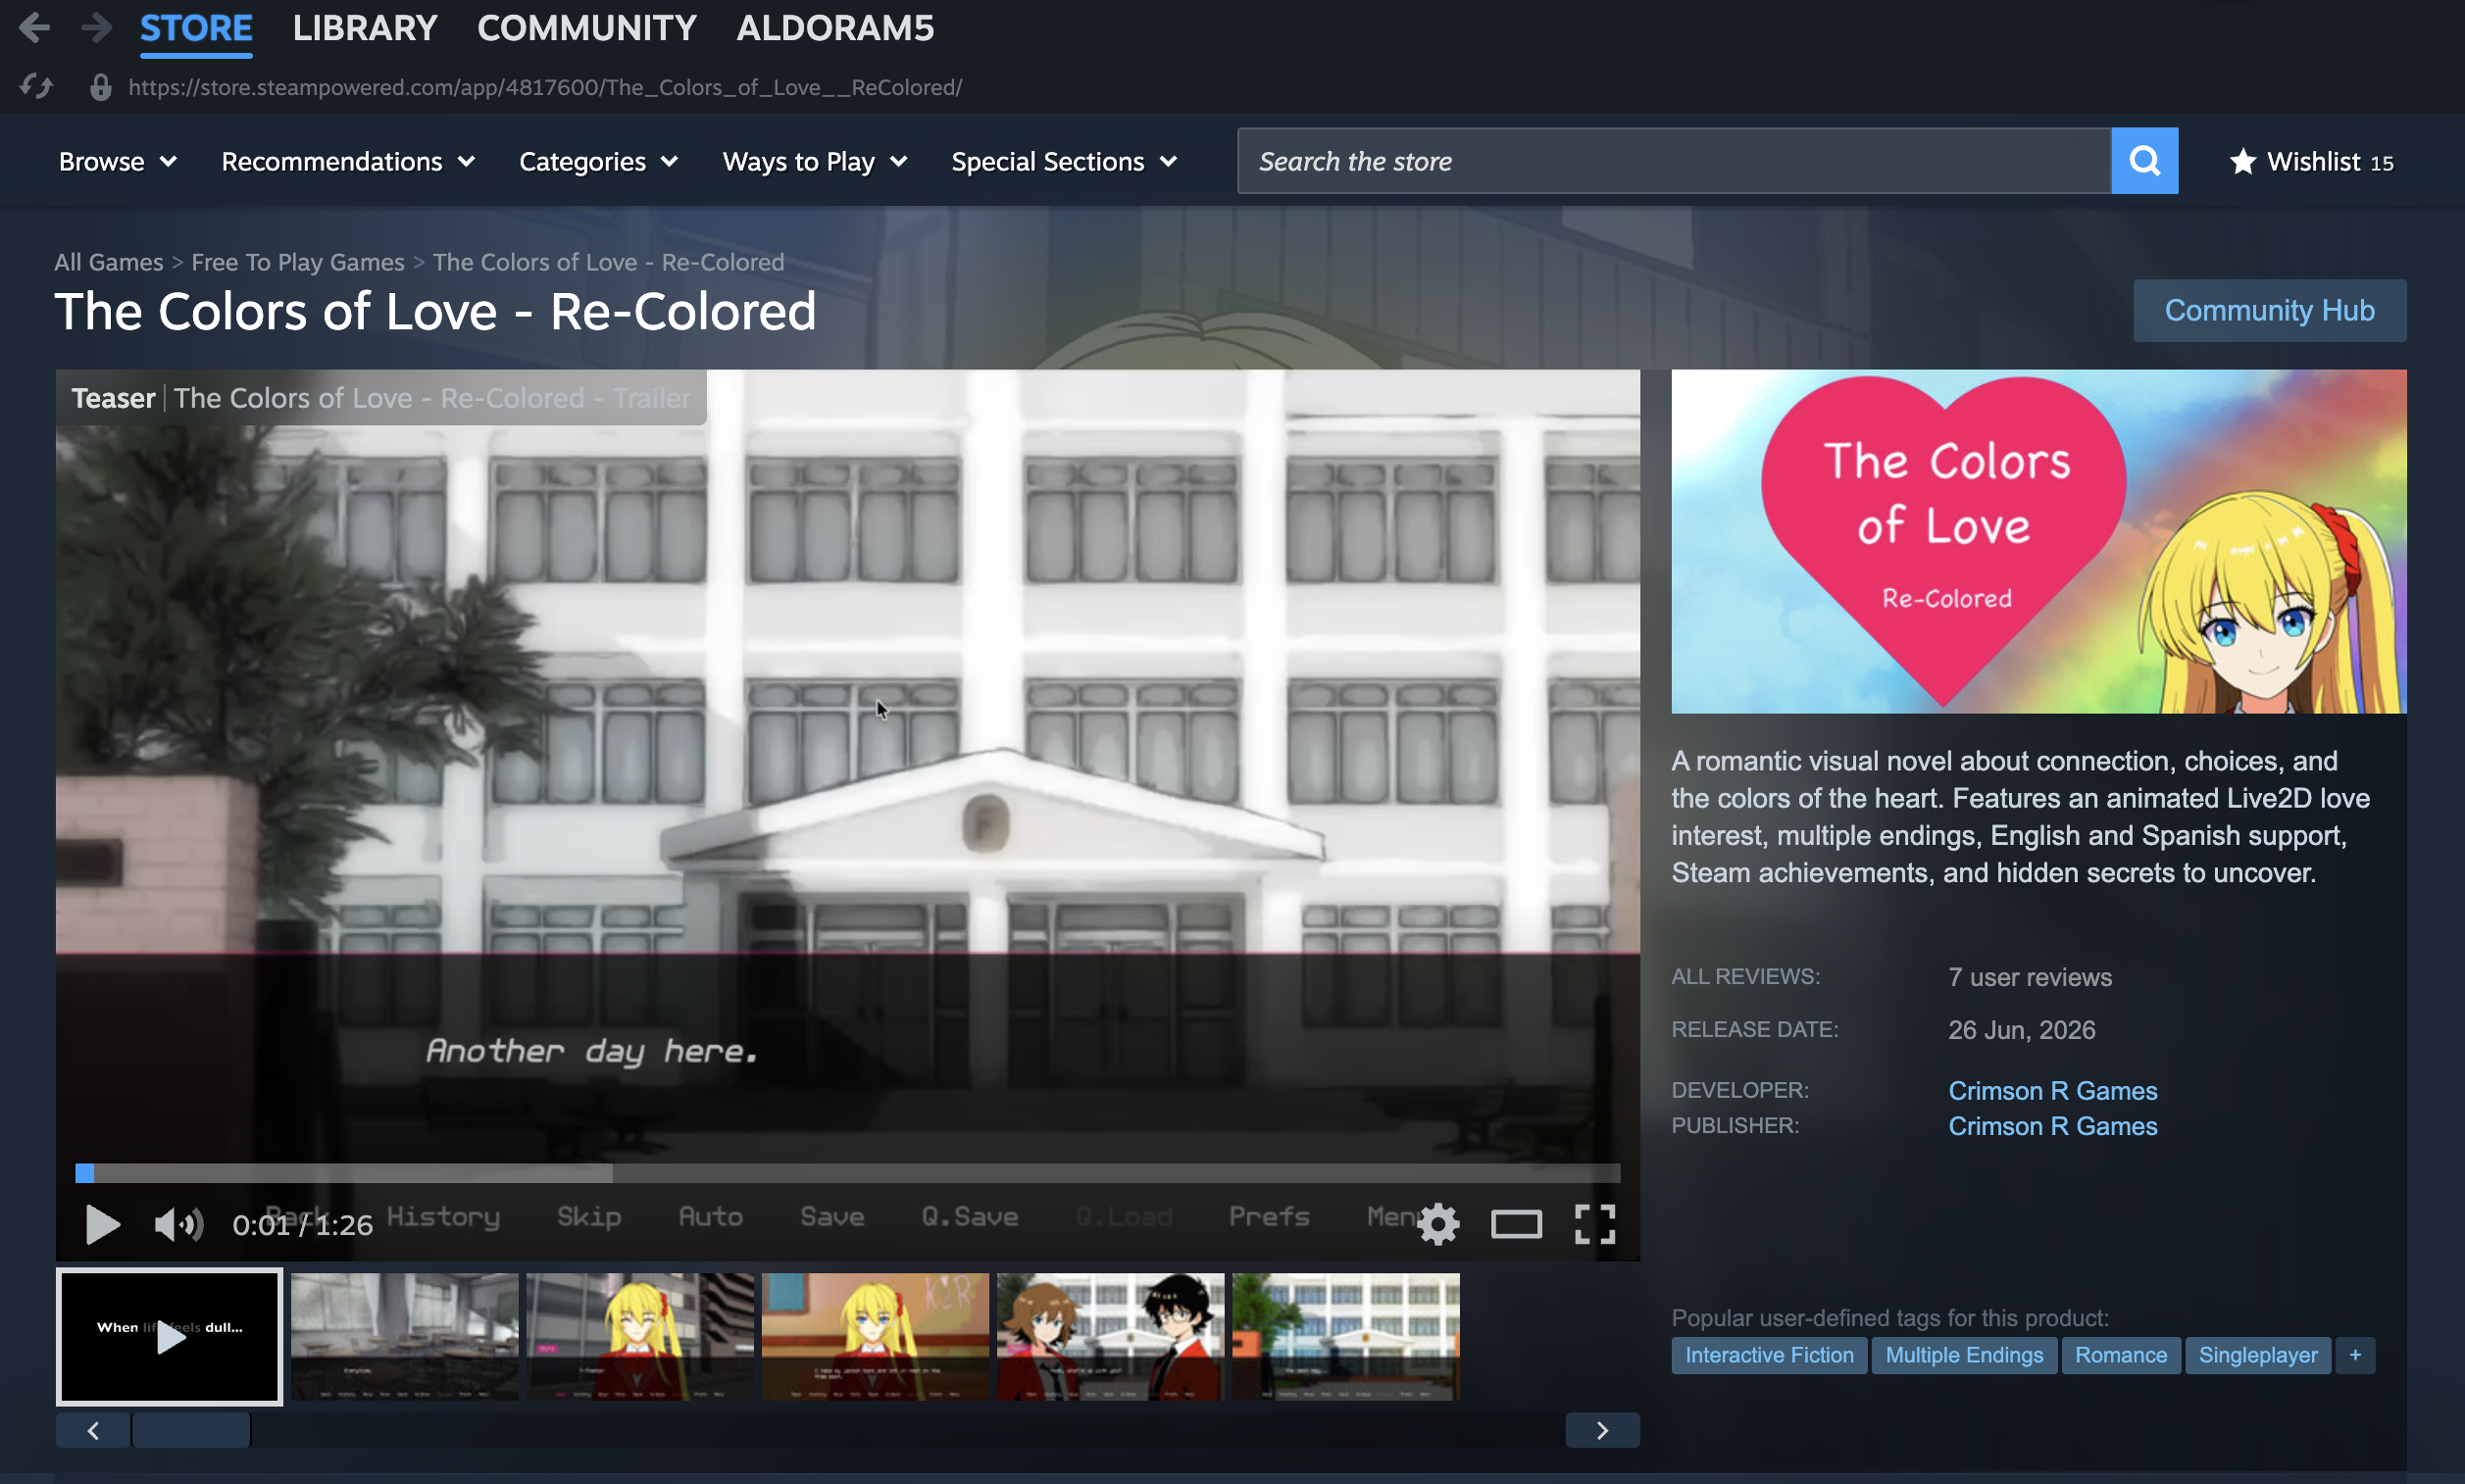
Hi all, I come this time with a tutorial that sparks from my own necessesity. When I was getting ready to put the Colors of Love re-colored on Steam I went looking for a proper end to end guide, something that covered everything from "how do I even sign up as a Steam Partner" all the way to "Game is now live on Steam, good job!", in particular for a Ren'Py project. I didn't really find one, there's Ren'Py's own docs, there's Steamworks' own docs, there's some info online but nothing complete. So after going through the process myself I decided to write my experience here on this blogpost.
First things first, before we even start the publishing process we need to become a Steamworks Partner, something which can be confusing and a bit intimidating if you've never done something like that, it was challenging to me because I'm based in Mexico and I had to cross relate the document names to their equivalent here in Mexico, as such I added a dedicated section for those of us registering from Mexico like me. Second we go through the actual technical pipeline: configuring Ren'Py, achievements, Steam Cloud, depots, packages, building with SteamPipe, and testing it like an actual player would.
One disclaimer: I'm not a lawyer or an accountant, this is not tax or legal advice, I'm just sharing what worked for me and what I confirmed against Steamworks' own documentation. If you're past the "just publishing a free indie game" stage and real income is involved, my suggestion is to talk to an actual tax professional for your country.
Part 1: Becoming a Steamworks Partner
Before you can even create an app on Steamworks you need to get approved as a Partner, and that means going through an identity verification, paying the fee to register and then need to fill in tax relevant information. It can be confusing if you don't already know US tax terminology, so let's go through it.
Identity Verification
Steam will ask for identity documentation. If you don't have a passport handy, Steam accepts "Driver's license, Military or Government ID" as a category, which covers a government ID card too. For Mexico I went with the INE card. You will use the "Clave de elector" as the government id number.
Consent Screens
You'll get two Yes/No questions:
- "I consent to providing my electronic signature." Say Yes, otherwise you'll need to print the form, sign it in ink, and mail it to Valve, which honestly nobody wants to do.
- "I consent to electronic receipt of my information reporting documentation" (things like 1099-MISC or 1042-S forms). Also Yes, it's faster and more reliable than physical mail, specially if you're outside the US.
Treaty Benefits Screen
This screen confirms your country of tax residence based on your permanent address, you generally don't need to touch the dropdown unless your tax residence is different from where you live. You'll also see a red warning about Russia's suspended treaty, that's boilerplate shown to everyone and irrelevant unless you're a Russian resident.
Why this screen matters at all: many countries have a tax treaty with the US that reduces the standard 30% US withholding rate on royalty income you might earn through Steam. That only kicks in once you provide a valid Tax Identification Number though, which is the next step.
Tax Identification Number (TIN)
Per Steamworks' own FAQ, "for Non-U.S. partners (W8), a U.S. TIN or a foreign TIN is required to claim treaty benefits."
If you're registering from Mexico
This is the part I struggled with the most, so here's the section I wish someone had written for me. You almost certainly already have a "Foreign TIN", it's your RFC. This is confirmed by tax professionals who handle W-8BEN forms for Mexican citizens too, it's not just my own assumption.
- "Do you have a TIN?" → Yes
- On the next screen, leave the US TIN section (SSN/EIN/ITIN) blank, it doesn't apply to you.
- Fill in the Mexico TIN field with your RFC, no spaces or dashes.
- Check "I confirm that my Mexico TIN is correct and is used for income tax purposes."
- You'll see a red warning about VAT/GST numbers, ignore it, the RFC is a dual purpose number in Mexico but here you're providing it specifically in its income tax capacity, which is what's being asked.
Why this matters: without a foreign or US TIN, the default US withholding on any future income is a flat 30%, regardless of whether your country has a treaty. Providing your RFC unlocks the reduced treaty rate if you ever actually earn money from the game. One important detail, if you skip this now and add a TIN later, Valve does not retroactively refund the withholding you already paid, per Steamworks' own Tax FAQ, so it's worth getting right the first time even if you're not expecting to make money soon.
Effectively Connected Income
You'll get asked: "Do you own and/or operate a business in the United States selling services, products, or merchandise?"
Being an employee of a company that happens to have a US presence does NOT count, the question is about you personally owning or operating a US based business. A solo studio based outside the US doesn't qualify. If you're indeed based in the US I recommend checking with a lawyer on the information you need to provide here, which is most likely a yes but I think the survey/questionaire asks for more stuff.
The Form W-8BEN
Steam will auto generate a Form W-8BEN, "Certificate of Foreign Status of Beneficial Owner for United States Tax Withholding and Reporting". We could break it down like this:
- Part I covers your identity, country of citizenship, permanent address, and your Foreign TIN.
- Part II is your treaty claim.
- Part III is the certification/e-signature.
The main point here is just to confirm all the stuff there looks good, you need to re-new it when Steam asks you to do it and you're legally obligated to re-submit within 30 days if any of the details there become inaccurate.
Waiting on Identity Verification
Once you submit, Steam/Valve will take some time to confirm your tax and identity info. Steam's FAQ this takes 2-7 business days, and you can't edit the submitted info after submitting. For me it took like 2 days, was really fast iirc.
Mailing Address
Under "Important Actions" in Steamworks you may get asked to add a mailing address, this is mostly used for shipping physical stuff or dev kits, and isn't strictly required to publish.
A couple of details that tripped me up:
- The Company Name field can be your studio/brand name even if you're not legally incorporated, it's just an identifier Valve uses, not a legal declaration.
- Attention is optional, leave it blank or put your own name if you're solo.
- Phone Number is a required field.
Creating Your App
In Steamworks: Create New App.
- Product Type: Game.
- Product Name: the exact title as it'll appear on the store page. Whatever you put here will be displayed on your store page and afaik is not easy to change, make sure you get it right the first time.
- This is a free product: check this box if you're not monetizing.
Creating the app automatically generates a bunch of Package IDs: a Developer Comp package (free copies for yourself and testers), a Beta Testing package, a couple of public release packages, plus the Store Item/App ID itself, which is the main identifier you'll use later for build uploads and any Steam SDK integration like achievements or the overlay, make sure you keep these stored safe on your machine, they're visible on the dashboard but better to keep them documented without needing to log back in there.
Public-Facing Name vs Steamworks Account Name
This one was a big concern for me as I didn't want to put personal information that easily available online. To clarify, your Steamworks partner account name, is basically your legal name as registered with Valve, it is internal/administrative only, players never see it. The Developer/Publisher name that shows up on your store page is a separate field, and that's where your studio name goes.
Creator Page / Steam Group Setup
To get a proper developer page that links all your games together:
- Create a Steam Community Group named after your studio. Make sure Public Group is checked, an unchecked/private group won't be discoverable, and wouldn't work.
- Go to Homepage Setup in Steamworks and link your developer name to this group.
- Once linked and saved, the group auto converts into your Creator Page, where you can add a logo, banner, and featured titles.
Some caveats here, I struggled a lot because of the group thing, since I didn't want to create a public one since that is visible on your own personal steam account (the one linked when making the partner account), at least this applies if you're just using your same account that you use to play, in the end I went with it cause it shouldn't be any harm and I thought having 2 accounts would be too much hassle. Also the linking option wouldn't appear at all if the group isn't properly configured, be careful with that and last but not least, the logo image doesn't seem to support transparency, unsure if it was a me issue or if that's intended, but keep an eye on it if your logo does require transparency.
Content Survey: Nudity or Sexual Content
This thing, I hated the process I had to go through for this guy, I'll expand later on this, but basically the survey is easy peasy to complete, the concern comes because Steam will review the content for this, and you may wonder, "what's the problem with that?", well in theory there's no problem, but you will need to be able to provide the reviewers with a very easy way to verify the content, and this process is lengty, reviews take time to be completed and each time you provide a build for them to re-verify you need to make sure they have easy access and provide very explicit instructions on how to get the content they request, particularly for my case, I needed proof of strong language, sexual innuendos and mature content in the form of, I forget the wording right now, but something akin to nudity or semi nudity, and because some of that stuff is in the middle of the game and as part of unlockables, I had to prepare builds that jumped straight there, so be careful with this and proactively try to get those ready for your first reviews to avoid back and forths with the reviewers, this I feel is something you only learn through self experience, but hopefully I can convey mine and save some of you some headaches or worse, missing your target release date.
System Requirements
For a "normal" Ren'Py Visual Novel I would suggest to go with some basic minimum specs, you could use these below as an example, so far I had no issues with it.:
| Field | Windows | macOS | Linux/SteamOS | |---|---|---|---| | OS Version | Windows 7 or later | macOS 10.10 or later | Ubuntu 16.04 or later | | Processor | 2.0 GHz Processor | Apple Silicon or Intel Core | 2.0 GHz Processor | | Memory | 2 GB | 2 GB | 2 GB | | Graphics | OpenGL 2.0 compatible | OpenGL 2.0 compatible | OpenGL 2.0 compatible | | Disk Space | ~size of your build + some extra | ~size of your build + some extra | ~size of your build + some extra |
Worth noting the macOS form specifically asks you to clarify Apple Silicon vs Intel compatibility, and to flag "Intel Only" if your build doesn't run well under Rosetta, also I put as additional note that any modern computer would work, since Ren'Py games aren't that demanding.
Legal Lines Field
Steam clarifies this field is only for copyright/trademark info, if you need a full EULA that goes elsewhere, and if you need one you probably have a lawyer to assist here anyway. But, if you're like me, releasing something free of charge but not free to ripoff here's a simple template that works:
© [YEAR] [Studio Name]. All rights reserved. This game is provided free of charge.
All characters, story, and assets are original works of [Studio Name]. This software
is provided "as is" without warranty of any kind.
A small note, if you're using Ren'Py's bundled Live2D SDK, note that's Live2D's Free SDK, which requires attribution but is fine for non-monetized indie use. I put that credit in the game's in-game credits screen rather than here. Something like Live2D technology by Live2D Inc. in the credits will be good enough.
With all that done and your app approved, you're officially a Steamworks Partner with an app ready to configure. Now for the fun part.
Part 2: A Quick Mental Model
Before going into the technical setup, it is helpful to remember and understand Steam's concepts and avoid confusion later:
- AppID: the game itself, one per game.
- Depot: a group of files Steam downloads. For Steam review purposes, keep OS-specific application files in OS-specific depots, so a Windows install doesn't accidentally download your Linux files too.
- Package: grants access to one or more depots. Developer comp, beta keys, store purchase packages, and CD key packages are all packages.
- Build: a specific uploaded set of depot manifests.
- Branch: the Steam client install channel.
defaultis the normal branch, private branches are useful for testing before going public and for Steam reviewers to test your game's contents as I mentioned in my rant from earlier.
Uploading files is not enough by itself, the uploaded build has to be set live on a branch, and the depots in that build need to be included in whatever packages grant access to the people who should be able to install it.
Part 3: Configure Ren'Py for Steam
In game/options.rpy, set your Steam AppID:
define config.steam_appid = YOUR_APP_ID
Keep the build name stable, since the executable paths used in Steam launch options depend on it:
define build.name = "YourGame"
Windows: YourGame.exe
Linux:   YourGame.sh
macOS:   YourGame.app
Exclude Development Files From the Build
Your project shouldn't ship docs, source notes, trace files, or other dev-only folders. In game/options.rpy, keep build exclusions similar to these:
build.classify('log.txt', None)
build.classify('errors.txt', None)
build.classify('trace.txt', None)
build.classify('traceback.txt', None)
build.classify('**project.json', None)
You may have other folders like some sort of docs folder or other files that could be dev only, so be careful on this, review what is included in your build.
Part 4: Achievements
Open the achievements page in Steamworks and for simple unlock-type achievements, use:
Min value: 0
Max value: 1
Set By: Client
Progress Stat: None
Client is what you want for a Ren'Py game that unlocks achievements from the local game client rather than a server.
A good API name style is something short and permanent, like:
ACH_ENDING_ONE
ACH_ENDING_TWO
ACH_ALL_ENDINGS
ACH_SOME_OTHER_IDENTIFYING_FLAG
Treat the API name as a permanent identifier since it's what your game code calls directly. Hidden achievements are a good idea for anything spoiler-y, specially ending achievements where the name or icon would give something away.
After adding or changing achievements, remember to publish Steamworks metadata from the Publish tab before you go testing! That's an important rule I want to emphasize on.
In Ren'Py, I'd recommend a small helper file instead of spreading Steam calls everywhere in your script. The important pattern is just:
$ unlock_steam_achievement("ACH_SOME_OTHER_IDENTIFYING_FLAG")
Call achievements at the moment the player has actually earned them, usually near the ending label or when the relevant persistent flag (if any) gets set. For "all endings" style achievements, check your persistent flags and unlock once all required endings have been seen. And make sure the helper fails gracefully if Steam isn't available, since you'll still want to test the game from the Ren'Py launcher without Steam running.
Part 5: Steam Cloud
If your game uses Ren'Py's normal save locations, Steam Cloud can be configured with Auto-Cloud, no custom code needed. Take note of your save directory, defined somewhere like:
config.save_directory = "YourGame-1234567890"
Then in the Steam Cloud page, a recommended root path row looks like:
Root: AppDataRoaming
Subdirectory: RenPy/YourGame-1234567890
Pattern: *
OS: [All OSes]
Recursive: unchecked
Cross-platform: Yes
And you'll want path overrides for the other platforms too:
macOS:
New Root: MacHome
Replace Path: Library/RenPy/YourGame-1234567890

Linux:
New Root: LinuxHome
Replace Path: .renpy/YourGame-1234567890
After changing Steam Cloud settings, publish it, it can be done with Publish Lite.
Part 6: Configure Depots
For Ren'Py Steam releases, use one depot per desktop OS:
YOUR_WINDOWS_DEPOT_ID - Windows
YOUR_LINUX_DEPOT_ID - Linux + SteamOS
YOUR_MAC_DEPOT_ID - macOS
Recommended settings per depot:
Windows depot:
Language: All Languages
For DLC: Base App
Operating System: Windows
Architecture: All Architectures
Platform: All

Linux depot:
Language: All Languages
For DLC: Base App
Operating System: Linux + SteamOS
Architecture: All Architectures
Platform: All

macOS depot:
Language: All Languages
For DLC: Base App
Operating System: macOS
Architecture: All Architectures
Platform: All
I'll be honest, I learned this the hard way. My first submission used a single combined depot for Windows and Linux, since Ren'Py can build a convenient combined "PC: Windows and Linux" package, and I figured uploading that wholesale would be fine. It passed review, but Valve flagged that the Windows install was also downloading the Linux application files alongside it, so I decided to clean it up. I recall reading that direction somewhere at some point but now I know it shouldn't be the case so separate those builds.
If Steamworks warns you that a depot isn't referenced by any packages, fix that before uploading a serious build, it won't install correctly otherwise.
Part 7: Configure Packages
Every package needs to include all the relevant depots. So if you're following allong your package should have all three:
YOUR_WINDOWS_DEPOT_ID
YOUR_LINUX_DEPOT_ID
YOUR_MAC_DEPOT_ID
This matters a lot for testing specifically. If a depot is missing from the Developer Comp package, the Steam client may just hide that platform, or install an incomplete build, even if the uploaded build technically includes the depot. After editing packages, publish the changes.
Part 8: Supported Operating Systems and Launch Options
In the general app settings, set your supported OS list, for example:
Windows
macOS
64 Bit (Intel) Binaries Included
Apple Silicon Binaries Included
Linux + SteamOS
Leave "App Bundles Are Notarized" unchecked unless you actually went through Apple notarization.
For launch options, under Installation > General Installation, add one entry per OS:
Windows:
Executable: YourGame.exe
Operating System: Windows

Linux:
Executable: YourGame.sh
Operating System: Linux + SteamOS

macOS:
Executable: YourGame.app
Operating System: macOS
For macOS, point directly at the .app bundle. After changing launch options, publish your changes.
Part 9: Build in Ren'Py and Stage for SteamPipe
In the Ren'Py launcher, use Build Distributions. For depot-separated Steam releases, prefer building separate packages:
Windows
Linux
Macintosh
Force Recompile
I am aware of the "Windows, Mac, Linux for Markets" option, but personally I decided to go with each separate build to have better control of those, if for whatever reason you wanna use the for markets option go ahead, I'm just sharing what worked for me specially cause of the review issue I mentioned.
Before uploading, review the contents of your built artifacts, avoid uploading stuff you don't want to share.
Steamworks SDK Layout
The Steamworks SDK's ContentBuilder folder is where staging happens, I have a structure like:
~/steam_sdk/sdk/tools/ContentBuilder
With subfolders for each platform's staged content:
~/steam_sdk/sdk/tools/ContentBuilder/content/windows
~/steam_sdk/sdk/tools/ContentBuilder/content/linux
~/steam_sdk/sdk/tools/ContentBuilder/content/mac
Clear and recreate them before each staging pass (commands for unix):
rm -rf ~/steam_sdk/sdk/tools/ContentBuilder/content/windows
rm -rf ~/steam_sdk/sdk/tools/ContentBuilder/content/linux
rm -rf ~/steam_sdk/sdk/tools/ContentBuilder/content/mac
mkdir -p ~/steam_sdk/sdk/tools/ContentBuilder/content/windows
mkdir -p ~/steam_sdk/sdk/tools/ContentBuilder/content/linux
mkdir -p ~/steam_sdk/sdk/tools/ContentBuilder/content/mac
Extract each Ren'Py build and copy its contents into the matching folder. For Windows you'd expect to see things like YourGame.exe, game, lib, and renpy directly inside content/windows. Same goes for Linux with YourGame.sh, and for macOS just the .app bundle copied neatly into content/mac, don't nest it inside an extra folder or Steam won't find it where it expects it to be.
VDF Scripts
SteamPipe uses VDF (Valve Data Format) scripts to describe what goes into each build. Here's the app build VDF template:
"AppBuild"
{
    "AppID" "YOUR_APP_ID"
    "Desc" "v1.0.0 Initial Steam build"
    "ContentRoot" "../content"
    "BuildOutput" "../output"

    "Depots"
    {
        "YOUR_WINDOWS_DEPOT_ID" "depot_build_YOUR_WINDOWS_DEPOT_ID.vdf"
        "YOUR_LINUX_DEPOT_ID" "depot_build_YOUR_LINUX_DEPOT_ID.vdf"
        "YOUR_MAC_DEPOT_ID" "depot_build_YOUR_MAC_DEPOT_ID.vdf"
    }
}
Windows depot VDF:
"DepotBuild"
{
    "DepotID" "YOUR_WINDOWS_DEPOT_ID"

    "FileMapping"
    {
        "LocalPath" "windows/*"
        "DepotPath" "."
        "Recursive" "1"
    }

    "FileExclusion" "*.DS_Store"
    "FileExclusion" "*.sh"
    "FileExclusion" "steam_appid.txt"
}
Linux depot VDF:
"DepotBuild"
{
    "DepotID" "YOUR_LINUX_DEPOT_ID"

    "FileMapping"
    {
        "LocalPath" "linux/*"
        "DepotPath" "."
        "Recursive" "1"
    }

    "FileExclusion" "*.DS_Store"
    "FileExclusion" "*.exe"
    "FileExclusion" "steam_appid.txt"
}
macOS depot VDF:
"DepotBuild"
{
    "DepotID" "YOUR_MAC_DEPOT_ID"

    "FileMapping"
    {
        "LocalPath" "mac/*"
        "DepotPath" "."
        "Recursive" "1"
    }

    "FileExclusion" "*.DS_Store"
    "FileExclusion" "__MACOSX/*"
    "FileExclusion" "steam_appid.txt"
}
Update the "Desc" field before every upload, it makes the Builds page in Steamworks much easier to read later when you're trying to remember what you even did in that version.
Part 10: Upload With SteamCMD
Authenticate first from the builder folder:
cd ~/steam_sdk/sdk/tools/ContentBuilder/builder_osx
bash ./steamcmd.sh +login your_steam_login
Don't put your password directly in the command, let SteamCMD prompt for it if there's no cached credential. Once login succeeds, quit out and then run the actual upload:
bash ./steamcmd.sh +login your_steam_login +run_app_build ../scripts/app_build_YOUR_APP_ID.vdf +quit
A successful run ends with something like:
Successfully finished AppID YOUR_APP_ID build (BuildID ########).
Write down that BuildID, you'll need it for the next step. If something goes wrong, the logs are in the output folder next to content, one log per depot plus one for the app build itself, and they're usually enough to figure out what happened.
Part 11: Set the Build Live and Publish
Head to the Builds page in Steamworks and find your new BuildID in the table. For testing, set it live on a private beta branch first if you do wanna test there, if the game isn't live yet this is not needed. If you did use a private one, once you're done with the testing there do set it live on default for the actual public release.
This is important, always remember that the build existing after upload is not the same as players being able to install it, it has to be set live on a branch first.
I will stress again in repeating to check if you haven't published your changes, anything you may have changed do ensure to at least do publish lite if you didn't change anything regarding images and stuff.
Part 12: Test It Like an Actual Player
This step matters more than it sounds like it should. Fully quit Steam, reopen it, install the game from your library, and launch it from Steam itself. I would at least test that you're able to get 1 achievement and the cloud saves working.
Troubleshooting Grab Bag
A few issues I ran into along the way, in case they save you some time:
SteamCMD says a local mapping doesn't exist. Your app VDF's ContentRoot and your depot VDF's LocalPath have to line up with an actual folder that exists on disk. If the app VDF says "ContentRoot" "../content" and the depot VDF says "LocalPath" "windows/*", SteamCMD expects content/windows to exist relative to where the scripts live. Fix the folder or fix the VDF paths, whichever is wrong.
SteamCMD returns Access Denied for a depot. Check that the depot is actually included in the relevant packages, specially Developer Comp if you're testing, that Steamworks changes were published, and that your account actually has permission to edit and publish app metadata.
Steam client only shows Windows, no other platforms. Almost always a package/depot configuration issue. Check the other depot exists, is included in the build, is included in the package granting your account access, the OS is checked under Supported Operating Systems, a launch option exists for it, changes were published, and Steam was fully restarted (not just the game, the whole client).
Steam shows a macOS 32-bit warning even though your build is 64-bit. Check the binary with file like shown in Part 8, if it reports 64-bit correctly, the fix is in Steamworks metadata: make sure "64 Bit (Intel) Binaries Included" and "Apple Silicon Binaries Included" are checked.
The macOS app installs but won't launch. Confirm the launch option points at the .app bundle directly, the bundle sits directly inside content/mac without an extra nesting folder, it has a proper Contents/MacOS/YourGame binary inside, and that the app actually runs outside Steam before you even try uploading it.
Achievements don't unlock. Double check config.steam_appid matches your real AppID, the achievement API names match exactly (case sensitive), the achievement metadata was published, you're launching from Steam and not the Ren'Py launcher, and the overlay is working.
Steam Cloud doesn't sync saves. Confirm Cloud is enabled for the app, the Auto-Cloud root/subdirectory matches your Ren'Py save directory exactly, path overrides exist for macOS and Linux, changes were published, and Cloud is enabled client-side for the game too.
Wrapping Up
Jesus christ this thing felt like a book, or well a mini book, but you guys get what I mean, too much content. I must say, I omitted the whole "configure your Steam market page", that was on purpose for 2 reasons:
- This post is already too long
- Most of the stuff there is somewhat self explanatory and there's other people who have shared better stuff about how to make your page standout, I'm a seasoned developer, yes, but I'm a newbie with Steam so better not post about it myself.
If you made it this far, first of all congrats, second, good luck with your release, and third, self plug, feel free to check the game that was the reason why I even did this guide: The Colors of Love - Re-Colored, which is free on Steam, feel free to check it out, if it is up your alley download it, or just leave me a comment on discussions, would love to know fellow devs struggling with this that came to the guide cause it was helpful.
Anyway, this is too long already, Aldo out!